Tasty reads
How do you make cheese?
September 14, 2021

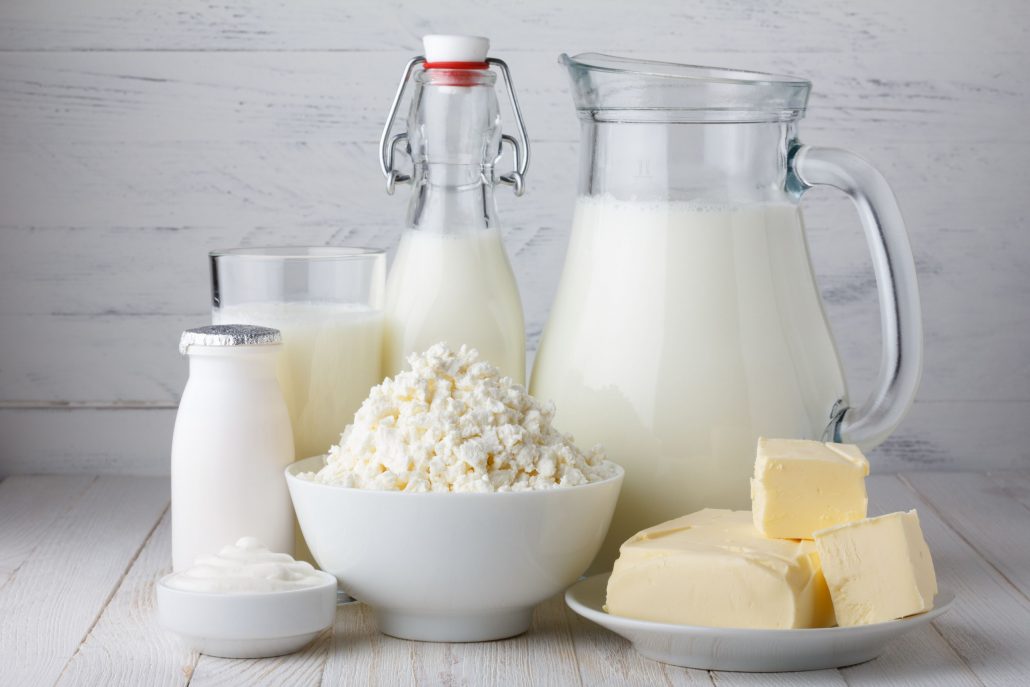
Among food products, cheese is one of the richest in biodiversity.
It’s often associated with wine, as they’re both an expression of the local territory and culture.
There’s endless variety, different by origin, texture, aging or cooking time.
Talking about cheese production today is like trying to define the work of a wine producer: every cheese maker has its way, applying or not certain rules to personalize the result.
However, there are guidelines, common in every preparation, which can help us to better understand the nature of this beloved product.
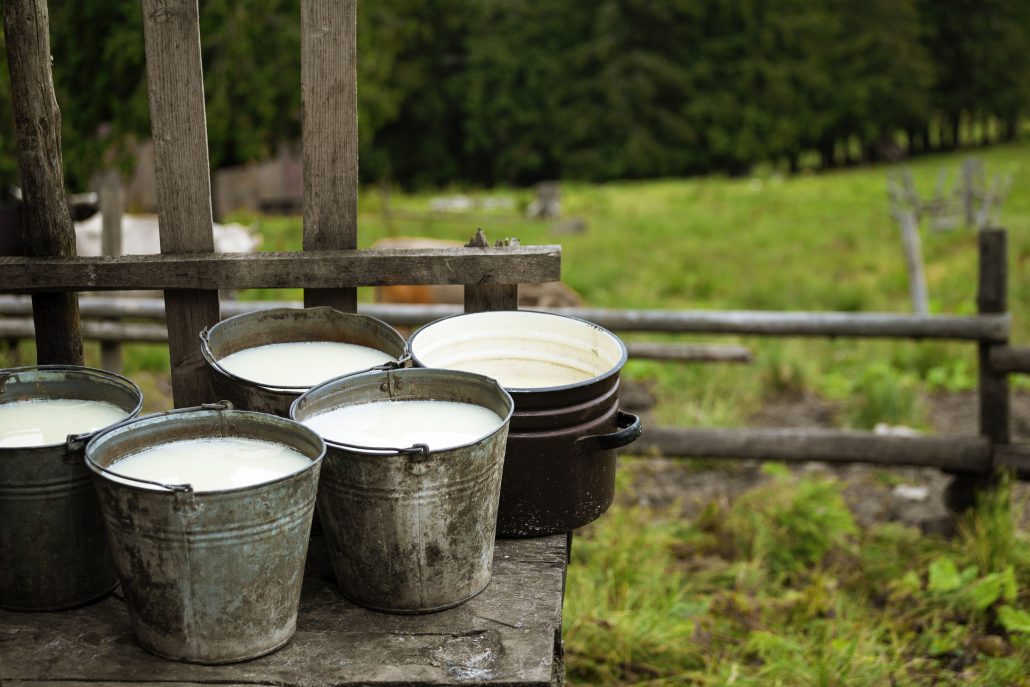
The number one rule for an excellent cheese is to use milk as fresh from the cow as possible.
You can then choose between whole, skimmed or half and half milk depending on the type of result you want to get.
Whole milk is better for fresh cheeses, while aged ones are usually made from skimmed milk.
Another distinction is between the use of raw or pasteurized milk.
The first one, naturally rich in bacteria, might involve some additional health risks if not managed well, but guarantees a more characteristic product.
Pasteurization is used to destroy pathogens, making milk safer but farther from its nature.
Another thing to keep in mind is that depending on the origins of the chosen milk (cow, buffalo, goat, sheep…) the fat content varies, and with it the final result.
Each type of cheese requires different milk characteristics.
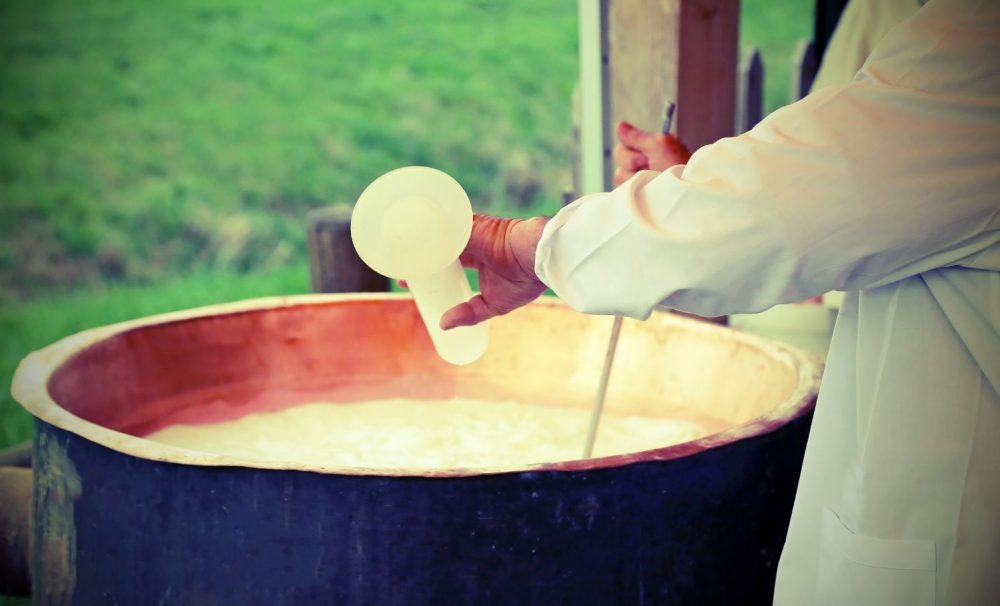
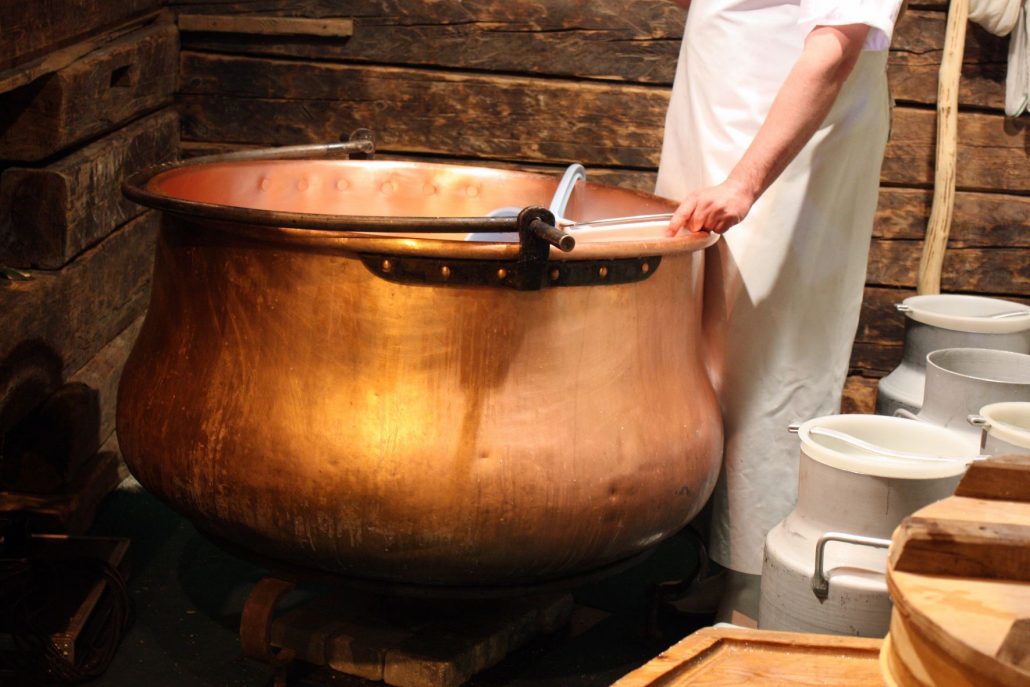
Once you’ve chosen the most suitable milk you need to transfer it into an appropriate container.
Italian cheese makers traditionally use a copper pot with direct heating, from either wood or gas, but today all sorts of alternatives are available, of different types and materials: from the most common stainless-steel pans to polyvalents, technical containers for professional use.
Milk needs to be at a fixed temperature of around 90 degrees Fahrenheit to allow the correct functioning of lactic ferments and rennet.
In order for the transformation from milk to cheese to happen, you need to make sure that the bacterial load survives through every step of the process.
For this reason, most producers add to the milk some microbial cultures, also called lactic ferments, necessary to facilitate the fermentation.
Even those who work with raw milk, already rich in bacteria, can choose to add more to enrich the product.
There are natural cultures and others that are selected in the laboratory.
The choice of culture influences a lot the final result, changing the appearance and texture of the cheese.
Also most molds derive from this choice, such as the one of the famous blue cheese.
After the addition of ferments, the milk needs to rest for at least one hour at the fixed temperature of 90.
The next step is then coagulation, the process that brings proteins and fats to a semi-solid, almost gelatinous state.
For this to occur naturally it would take too much time and high acidity, so cheesemakers usually speed up this process with a coagulant.
Originally the only available one was animal rennet (extracted from the stomach of calves or lambs), but today the options are as varied as in the rest.
In fact, there are many different types of vegetable rennet, derived from plants and vegetables and suitable for vegetarian cheeses.
Rennet is usually first dissolved in some water and then added to the warm milk.
Another hour of waiting is then required to make sure that the curd is completely formed.
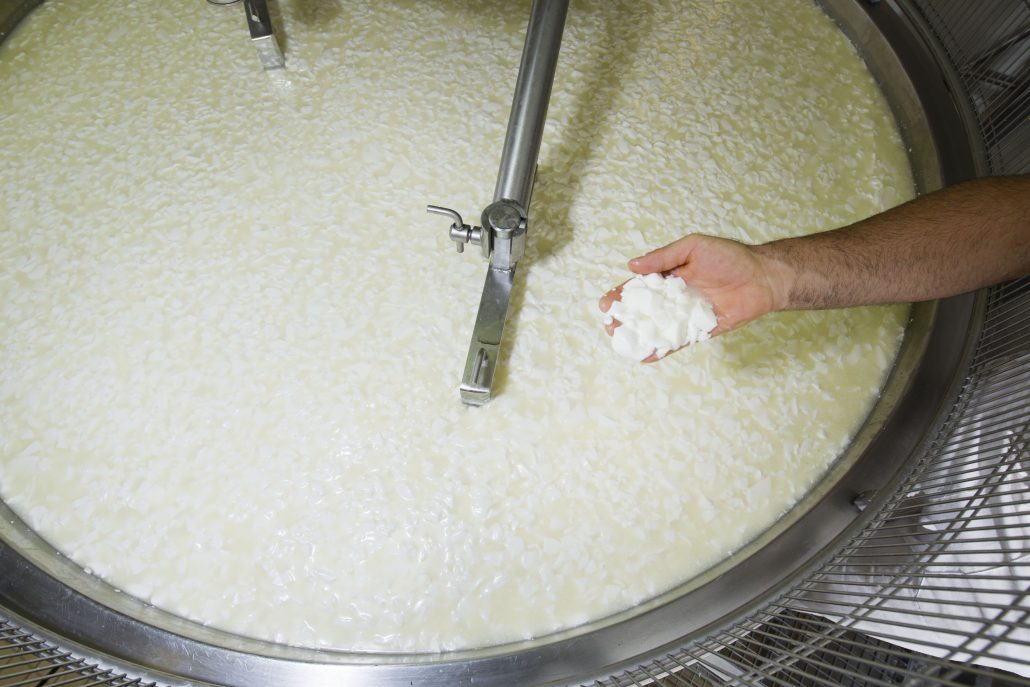
As coagulation occurs, the curd naturally tends to purge the whey, mainly consisting of water.
Cutting the curd will affect the moisture content in the finished cheese: when cut in large pieces the curd will end up in a softer cheese, and vice versa the smaller the pieces the harder the result.
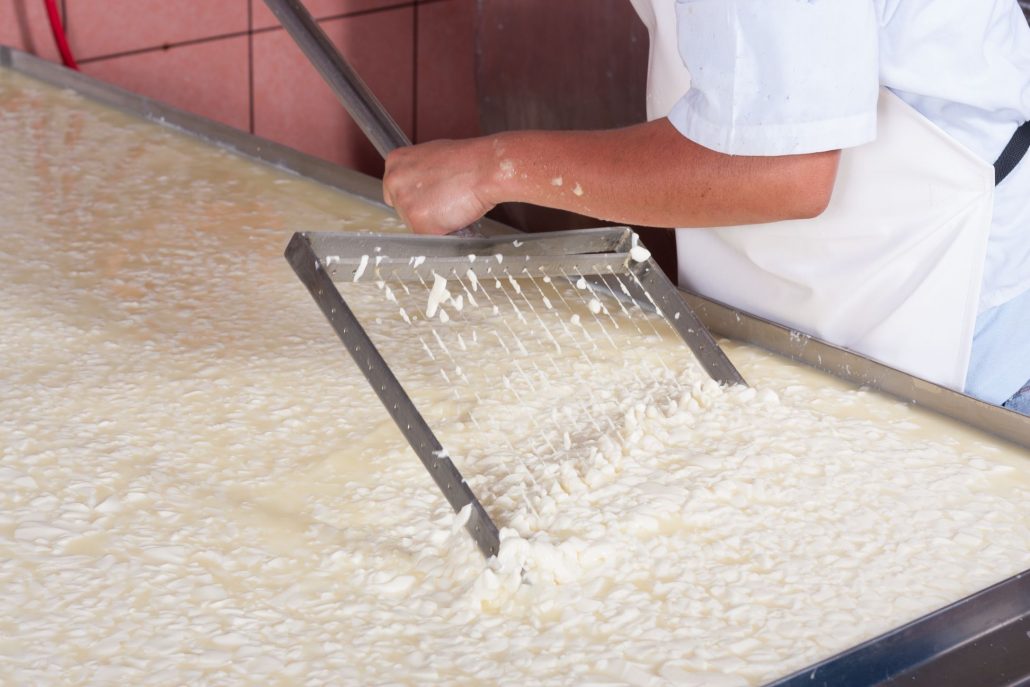
Before breaking the curd, the cheesemakers verify that it’s actually ready, which can be told by the presence of a layer of whey on top of it.
There are some specific tools that producers traditionally use to cut the curd, called cheese harps or curd cutters.
The cheese can be raw, semi-cooked or cooked.
The first one doesn’t undergo any heat treatment while for the other two types the curd is cooked for a variable time, from 15 to 90 minutes, at a variable temperature, between 100 and 140 degrees Fahrenheit.
This procedure is used when the paste is still too moisturized and the producer wants a harder cheese.
Throughout the cooking time it’s necessary to keep stirring delicately, trying not to brake the curd any further.
Once the curd is cooked, it needs a few minutes to settle on the bottom of the container.
The whey, that is now completely on the surface, is then thrown away or stored for future purposes.
The curd is transferred into the chosen cheese molds, that can be of various sizes and materials depending on the type of cheese you’re making.
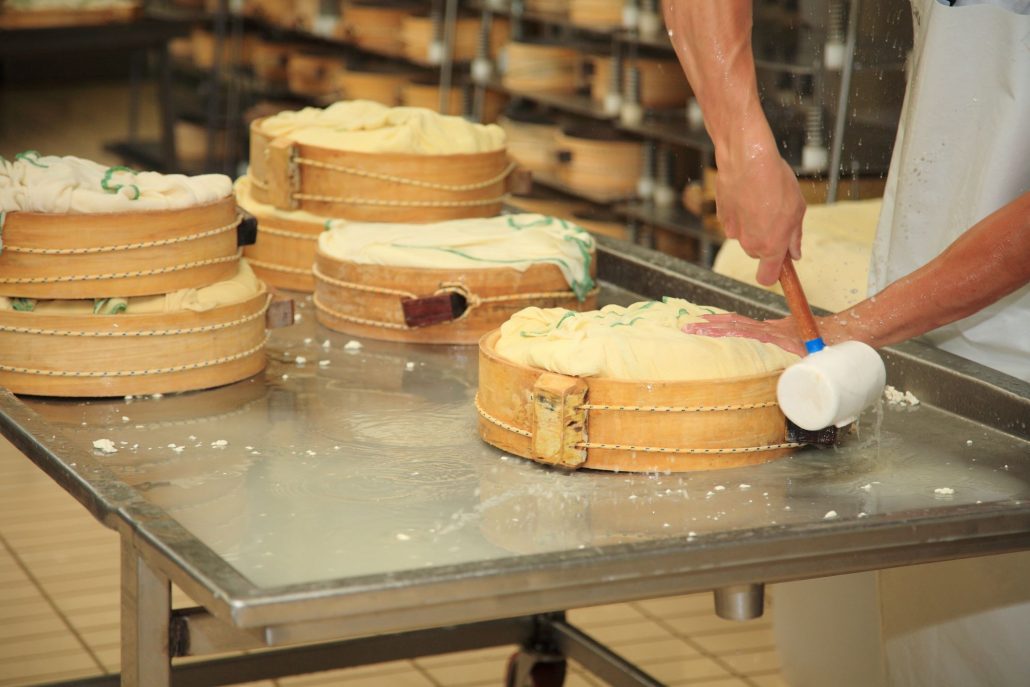
They must be completely filled: while draining the volume of the curd will diminish largely, so it is important to use all the available space.
The cheese is left to drain for hours, during which the cheese wheels get turned a couple of times or, in specific cases, pressed.
Pressing can take several days if what you’re seeking for is an extremely compact cheese.
There are two ways to salt the cheese.
The first is dry salting, by sprinkling the needed amount of salt on the cheese wheel and rubbing it gently over the entire surface.
The second is brine: the cheese is left in a salted solution for hours or days, depending on the flavor you want to get.
This step is necessary not only for the final taste but also for proper storage and for the prevention of unwanted mold.
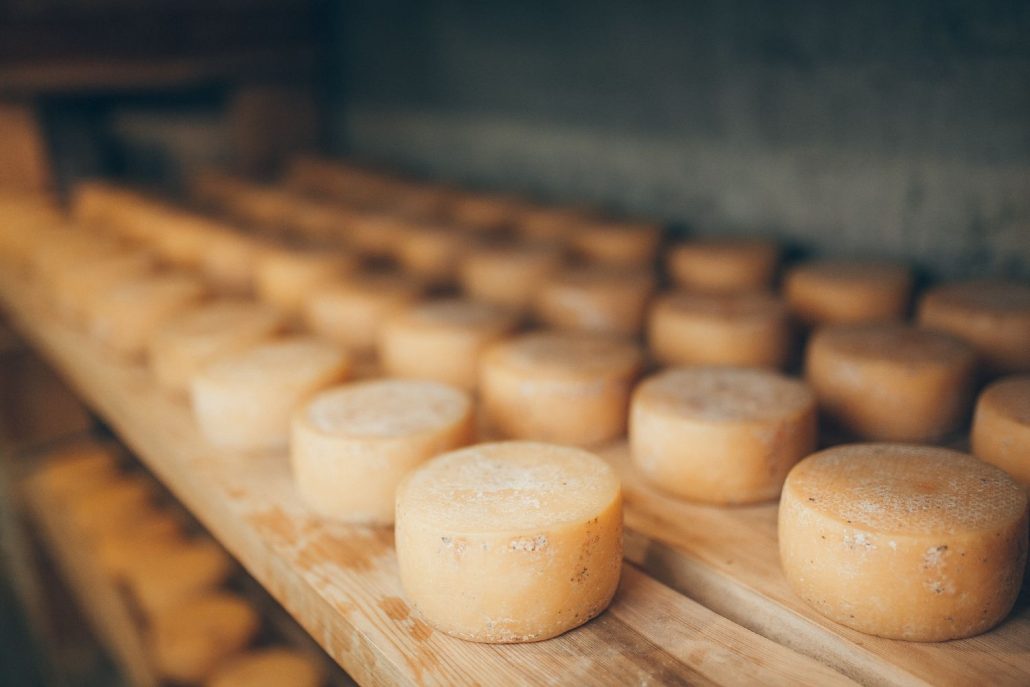
After salting, the molds are left to dry for at least 24 hours on absorbent rags, and once they dry they begin to age in suitable environments for days, months or years.

by Lorenzo Tablino
by Nicolas Roncea
by Nicolas Roncea